
On This Page
A clean SIM card plays an important role in keeping your phone connected without signal issues or errors. Learning how to clean SIM card the right way can help improve performance and prevent common connectivity problems.
1. Signs Your SIM Card Might Need Cleaning
Your SIM card plays a key role in connecting your phone to the network, so even small issues can affect performance. Recognizing early signs of problems can help you fix them quickly and avoid bigger connectivity issues.
SIM Card Not Detected
If your phone displays messages like “No SIM” or “Insert SIM card,” it may indicate that the device cannot properly read the SIM. This can happen when dust or dirt interferes with the contact points.
If you’ve ever wondered, Does a SIM card need to be cleaned, this is one of the clearest signs that cleaning may be necessary. Removing the SIM and checking for debris can often resolve the issue.
Weak or Intermittent Network Signal
Another common sign is a weak or unstable signal, even in areas where coverage is usually strong. A dirty SIM card can disrupt the connection between your device and the carrier’s network. This may result in dropped calls, slow data speeds, or difficulty sending messages. In such cases, cleaning the SIM card and reinserting it properly can help restore a more stable connection.
Frequent SIM Errors
Repeated error messages such as “SIM not provisioned” or “SIM card error” can also point to a problem with the SIM itself.
Can a dirty SIM card cause problems? The answer is yes, dirt or oxidation on the SIM can prevent proper communication with the device. Cleaning the card and ensuring it is correctly positioned can help eliminate these recurring errors.
2. What You Need Before Cleaning a SIM Card
Before cleaning your SIM card, it’s important to gather the right tools to avoid damaging the card or your device. Knowing how to clean SIM card properly starts with using safe materials and handling each step with care.
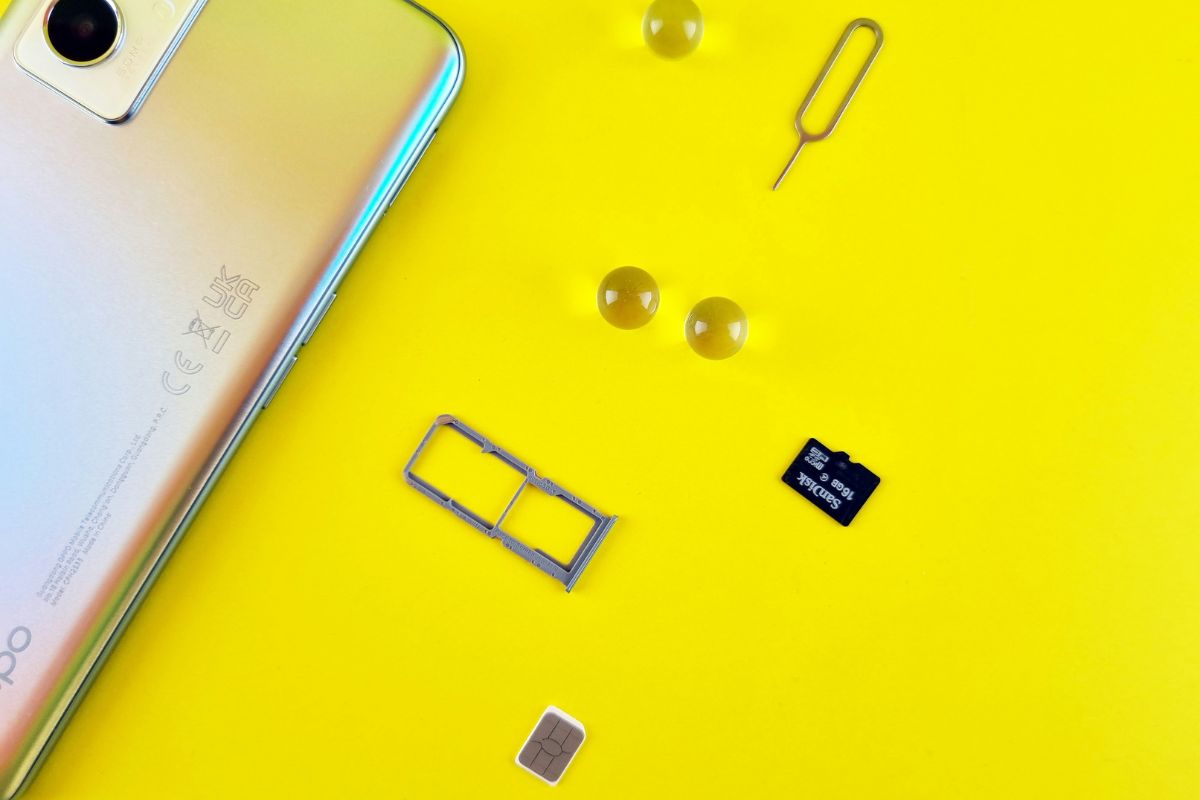
SIM Eject Tool or Paperclip
You will need a SIM eject tool or a small paperclip to remove the SIM tray from your device. By inserting the tool into the pinhole on the tray, you can gently pop it out without applying too much force. Using the correct tool helps prevent damage to the tray or internal components, making the removal process safe and straightforward.
Soft Microfiber Cloth
A soft microfiber cloth is ideal for cleaning the SIM card because it won’t scratch the delicate metal contacts. You should gently wipe the surface of the SIM to remove dust, fingerprints, or light residue. Avoid using rough materials like paper towels or tissues, as they can cause micro-scratches that may affect performance.
Isopropyl Alcohol (Optional)
Isopropyl alcohol can be used for deeper cleaning if there is stubborn dirt or buildup on the SIM card. You should apply a small amount to the microfiber cloth, never directly onto the SIM, and wipe the contacts gently.
Make sure the SIM card is completely dry before reinserting it into your device to avoid any potential damage.
3. How to Clean SIM Card Without Damage
Cleaning your SIM card the right way helps maintain a stable connection and prevents potential damage to your device. By following a careful step-by-step process, you can remove dirt or residue without affecting the SIM’s performance.
Step 1: Turn Off Your Phone
You should begin by turning off your phone completely before handling the SIM card. This step protects both the device and the SIM from electrical issues during removal. Powering off the phone also ensures the system resets properly once the SIM is reinserted.
Step 2: Remove the SIM Card Tray
Next, you need to locate the SIM tray and use a SIM eject tool or paperclip to open it. By applying gentle pressure to the pinhole, the tray will pop out safely. It is important to handle this step carefully to avoid damaging the tray or internal components.
Step 3: Take Out the SIM Card Carefully
Once the tray is removed, you should carefully take out the SIM card using your fingers. Avoid touching the metal contacts too much, as oils or dirt from your hands can affect performance.
If you’re wondering “is there a way to clean a SIM card”, handling it gently is the first step toward doing it correctly.
Step 4: Gently Clean the SIM Card
You can now clean the SIM card using a soft microfiber cloth. Gently wipe the metal contacts to remove dust, fingerprints, or debris. When learning how to clean SIM card, it is important to avoid using excessive force or harsh materials that could scratch the surface.
Step 5: Let the SIM Card Dry Completely
If you used any cleaning solution, you should allow the SIM card to dry completely before reinserting it. Even a small amount of moisture can interfere with connectivity or damage the device. Letting it air dry for a few minutes ensures it is safe to use again.
Step 6: Reinsert the SIM Card and Restart the Phone
Finally, you should place the SIM card back into the tray, ensuring it is aligned correctly, and slide the tray back into the phone. After that, turn the device on and wait for it to detect the SIM. Once the phone restarts, you can check if the signal and connectivity have improved.
4. When SIM Card Issues Mean It Might Be Time for a Replacement
If you are eligible, you may receive a free phone and a SIM card. (Image by Unsplash)
Sometimes, cleaning or troubleshooting is not enough to fix SIM-related problems. If your SIM card continues to fail, replacing it or activating a new mobile plan may be the best solution to restore reliable connectivity.
Step 1: Check your eligibility
Begin by confirming you qualify for the Lifeline Program based on income or participation in government assistance programs. Preparing documents in advance will help speed up your SIM card application process.
Go to the official website and enter your ZIP code to check SIM card availability and service options in your area. This step helps you find plans that include a free SIM card or eSIM activation.
Step 3: Choose a plan and SIM option
Select a mobile plan that fits your needs, then choose your preferred SIM option, either a physical SIM card or eSIM. When you apply for a plan (and optionally a device), the SIM card is typically included at no extra cost.
Step 4: Enter personal details and verify eligibility
Fill out the application form with your personal information. If the system cannot verify your eligibility automatically, you may need to upload documents. This step ensures your SIM card is properly linked to your account.
Step 5: Receive and activate your SIM card
Once approved, your SIM card (or device with SIM) will be shipped to your address, usually within 7-10 business days. After receiving it, you can follow the provided instructions to activate your SIM and start using your service.
5. Final Words
Keeping your SIM card clean is a small step that can make a big difference in your phone’s performance. By understanding how to clean SIM card properly, you can avoid common issues like weak signals or detection errors. Regular maintenance not only improves connectivity but also extends the lifespan of your SIM and device.