
On This Page
You can move your cellular plan to a new device without much hassle. Today, many users want clear guidance on how to transfer eSIM to new iPhone without interruptions. In this guide, you’ll find clear steps for using Apple’s own feature, carrier apps, and manual setup to complete the process smoothly.
1. How To Transfer eSIM To New iPhone
So, how to transfer eSIM to new iPhone? Not every transfer method works the same for every user.
Your experience depends on carrier compatibility, device conditions, and how your current eSIM was activated.
Method 1: Using quick transfer (nearby iPhone)
Apple’s Quick Transfer is the most simple way to move your number during or after the initial setup. On your new iPhone, navigate to Settings > Cellular > Add eSIM and select Transfer from Nearby iPhone.
Make sure both devices are nearby, unlocked, and have Bluetooth enabled; a prompt will appear on your old device to authorize the transfer. After confirmed, your new iPhone will activate the eSIM, and the old device will typically deactivate the line automatically.
Method 2: Manual eSIM transfer (for special cases / troubleshooting)
If automatic methods fail, you can learn how to manually transfer eSIM to new iPhone by entering activation details directly. In Settings > Cellular > Add eSIM, select Use QR Code and then tap Enter Details Manually at the bottom of the screen.
You will need to input the SM-DP+ address and activation code provided by your carrier to securely download the eSIM profile to your new device.
Once the request is processed, you will receive a QR code via email or within the app, which you can then scan on your new iPhone to download and activate the plan immediately.
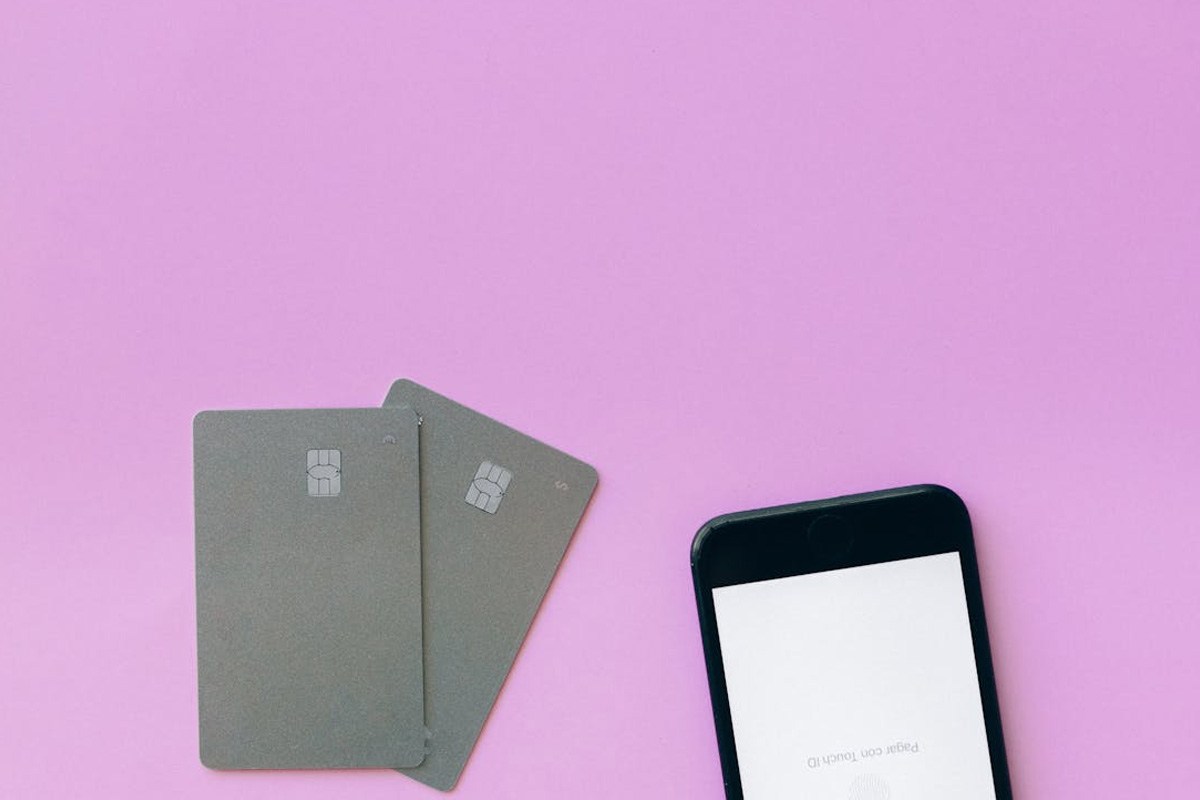
Step-by-step guide to transfer eSIM to new iPhone (Image by Pexels)
2. How To Transfer Physical Sim To eSIM On New iPhone
You may upgrade to a new device and still want to keep your current mobile service. In that situation, learning how to transfer eSIM to new iPhone lets you switch from a physical SIM to a digital format without using a physical card.
Use eSIM quick transfer during setup
When setting up a new iPhone, you can transfer your physical SIM directly to an eSIM by following the onscreen prompts. Verify that both devices are nearby, unlocked, and have Bluetooth enabled.
Simply select the phone number you wish to transfer from your old device when prompted, then confirm the action on the original iPhone by following the instructions.
Convert to eSIM after setup
If you have already finished setting up your new iPhone, you can still perform the conversion in the Settings menu. To learn how to transfer eSIM to new iPhone, navigate to Cellular > Set Up Cellular (or Add eSIM) and choose your phone number from the list.
If your carrier supports it, you will see a “Convert to eSIM” option; tap it and follow the onscreen steps to activate your digital line.
Transfer from a nearby iPhone
For a smooth transition after setup, use the “Transfer From Nearby iPhone” feature located in the Cellular settings. This requires both devices to be running at least iOS 16 and logged into the same Apple ID.
When selected, a verification code will appear on your new iPhone to be entered on the old one, authorizing the secure transfer of your cellular plan.
Use a carrier QR code
If your carrier does not support quick transfer, they may provide a QR code for manual activation. To use it, go to Settings > Cellular > Add eSIM and select Use QR Code.
Scan the code provided by your carrier with your iPhone’s camera to download and activate your cellular profile instantly.
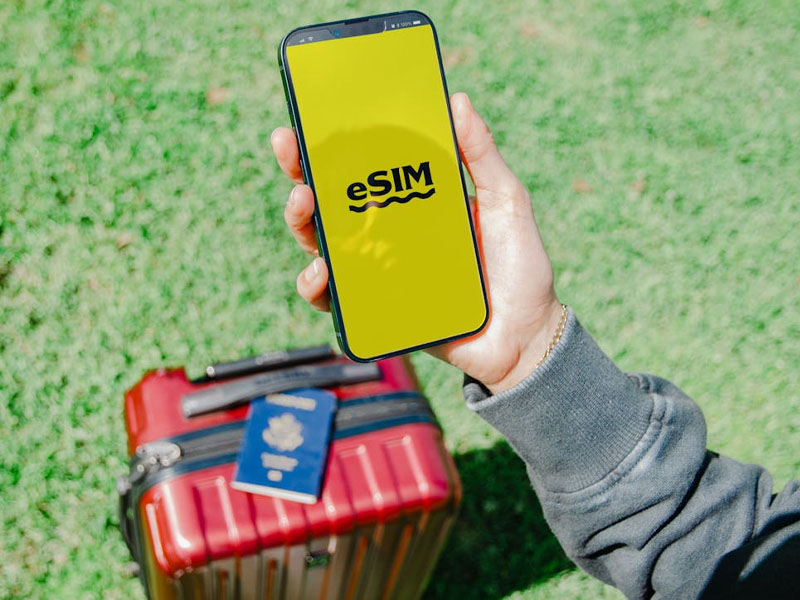
Guide to transfer physical SIM to eSIM on new iPhone (Image by Pexels)
3. Troubleshooting Common eSIM Transfer Issues
While eSIM transfer is generally seamless, users may still encounter several common issues during the process. Understanding each problem and its corresponding solution will help ensure a successful setup on your new iPhone
SIM not supported or carrier lock issue
This issue typically occurs when the iPhone is locked to a specific carrier, preventing the activation of a different network’s eSIM profile.
To resolve this:
- Navigate to Settings > General > About and check the Carrier Lock status.
- If the device shows as locked, contact your carrier to request an unlock.
- Ensure both your iPhone model (iPhone XS or newer) and your carrier support eSIM Quick Transfer.
eSIM transfer not Initiating or devices not connecting
In some cases, the transfer process may fail to start because the two devices cannot establish proper communication.
To fix this issue:
- Ensure both iPhones are running the latest iOS version.
- Turn on Bluetooth and connect both devices to a stable Wi-Fi network.
- Keep the devices physically close to each other.
- Restart both iPhones to refresh system processes and connectivity.
Unable to activate eSIM error
This error usually appears during the activation stage due to temporary network or provisioning issues.
Recommended solutions:
- Toggle Airplane Mode on for 10 seconds, then turn it off to refresh the network connection.
- Retry the activation process after reconnecting to Wi-Fi.
- If the issue persists, contact your carrier to verify that the eSIM profile is properly provisioned.
4. Apply for Free Government Service And A New iPhone Today
If you already know how to transfer your eSIM to a new iPhone, the next step is making sure you have the device and service to get started.
Fortunately, you may be eligible for government assistance programs that provide a free smartphone along with monthly service, making it easier than ever to upgrade.
Eligibility for Lifeline Program
Lifeline is a government assistance program designed to make communication services more affordable for low-income consumers.
Only eligible consumers may enroll in Lifeline service, typically based on household income or participation in programs like SNAP or Medicaid.
It is important to note that the service is a non-transferable Lifeline service and is strictly limited to one discount per household.
How to apply
Step 1: Check Your Eligibility
Confirm you qualify based on income (at or below 135% of the Federal Poverty Guidelines) or participation in government programs like SNAP, Medicaid, or SSI.
Step 2: Visit Provider and Enter ZIP Code
Step 3: Choose a Lifeline Plan
Select a plan that specifically includes the smartphone benefit to assure you are eligible for a free device along with your monthly talk, text, and data.
Step 4: Select Your iPhone
Browse the available inventory for your location and select your preferred iPhone model; common options often include the iPhone 7, 8, or SE.
Tep 5: Upload Documents and Submit
Complete the online application with your personal details (name, address, SSN) and upload clear photos of your ID and eligibility proof (e.g., a benefits award letter) for final review.
As soon as submitted, applications are typically reviewed in 20–30 minutes, and approved iPhones are shipped to your home within 7–10 business days.
5. FAQs
Can I transfer a physical SIM to an eSIM on a locked iPhone?
No, your iPhone must be carrier unlocked to transfer a physical SIM to an eSIM from a different provider. You can check your lock status in Settings > General > About under “Carrier Lock.”
Does transferring to eSIM delete my contacts?
No, transferring your service does not delete contacts. On iPhones, contacts are typically stored in iCloud or your email accounts (like Gmail), rather than on the physical SIM card itself.
How many eSIMs can I have on my new iPhone?
Most modern iPhones (iPhone 13 and later) allow you to store eight or more eSIMs and use two phone numbers at the same time through Dual SIM technology.